


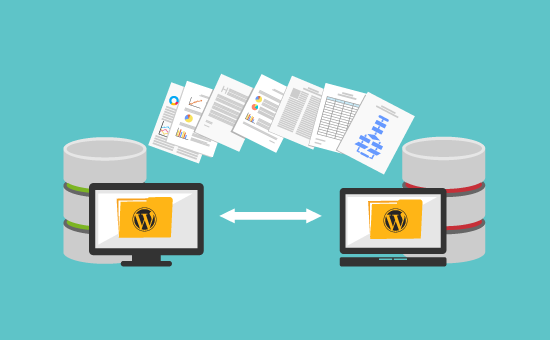

Thinking about moving your WordPress site to a new host but worried about losing data or facing downtime? You’re not alone.
Migrating your website might sound complicated, but with the right steps, you can make the transition smooth and stress-free. In this guide, you’ll learn exactly how to migrate WordPress to a new host quickly, safely, and without losing any of your hard work.


Whether you want better speed, improved support, or lower costs, this article will give you clear, easy-to-follow instructions so you can get your site up and running on your new host with confidence. Keep reading and take control of your website’s future today!
Choose A New Host
Choosing a new host is a key step in moving your WordPress site. The right host keeps your site fast and secure. It also affects your site’s uptime and support quality. Take time to select a host that fits your needs and budget.
Compare Hosting Plans
Look at different hosting plans side by side. Check the storage space and bandwidth each plan offers. See if they include free SSL certificates and backups. Consider the price and renewal fees. Choose a plan that matches your site’s size and traffic.
Check Server Requirements
Make sure the new host supports WordPress requirements. It should run the latest PHP and MySQL versions. Check if it allows you to use the needed plugins and themes. Confirm that the server supports HTTPS for security. This ensures your site works smoothly after migration.
Sign Up And Set Up Account
Create an account with the new hosting provider. Provide accurate details and choose a secure password. Follow the setup instructions carefully. Set up your domain name and DNS settings. Prepare your account for the next steps in migration.
Backup Your WordPress Site
Backing up your WordPress site is the first and most important step before migration. A complete backup protects your content, themes, plugins, and settings. It also helps avoid data loss during the transfer process. Always create a backup to secure your website’s files and database.
Export Website Files
Start by downloading all WordPress files from your current host. Use an FTP client like FileZilla to connect to your server. Locate the WordPress root folder, usually named “public_html” or “www.” Select all files and folders, then download them to your computer. This backup includes themes, plugins, media uploads, and core files.
Export Database
Your website’s database stores all content and settings. Export it using phpMyAdmin in your hosting control panel. Select your WordPress database, then click the “Export” tab. Choose the “Quick” export method and “SQL” format. Save the exported file to your computer. This file contains all posts, pages, comments, and configurations.
Use Backup Plugins
Backup plugins simplify the process by automating file and database backups. Popular options include UpdraftPlus, BackWPup, and Duplicator. Install and activate your chosen plugin on WordPress. Follow its instructions to create a full backup. Plugins often allow you to store backups in the cloud or download them directly.
Create Database On New Host
Creating a database on your new host is a key step in moving your WordPress site. The database stores your website’s content, settings, and user information. Without a properly set up database, your site won’t function on the new server.
This process involves accessing your hosting control panel, setting up a new database, and adding a user with the right permissions. Each part is simple but important to complete carefully.
Access Hosting Control Panel
Log into your new hosting account to start. Look for the control panel, often called cPanel or something similar. The control panel lets you manage all parts of your hosting service.
Once inside, find the section labeled “Databases.” This area holds all tools needed to create and manage databases. Access it to begin setting up your new database.
Set Up New Database
In the database section, click on “MySQL Databases” or the equivalent option. You will see a field to enter a new database name. Choose a name that matches your website or something easy to remember.
After typing the name, click “Create Database.” The system will make the database for you. Keep the name handy for later steps, as you will need it for configuration.
Add Database User And Permissions
Next, create a new database user. Enter a username and a strong password. This user will connect WordPress to the database.
Assign the user to your new database. Make sure to grant all privileges or permissions. This ensures WordPress can read, write, and modify data freely.
Save these details. You will enter them into your WordPress configuration file to link your site to the new database.
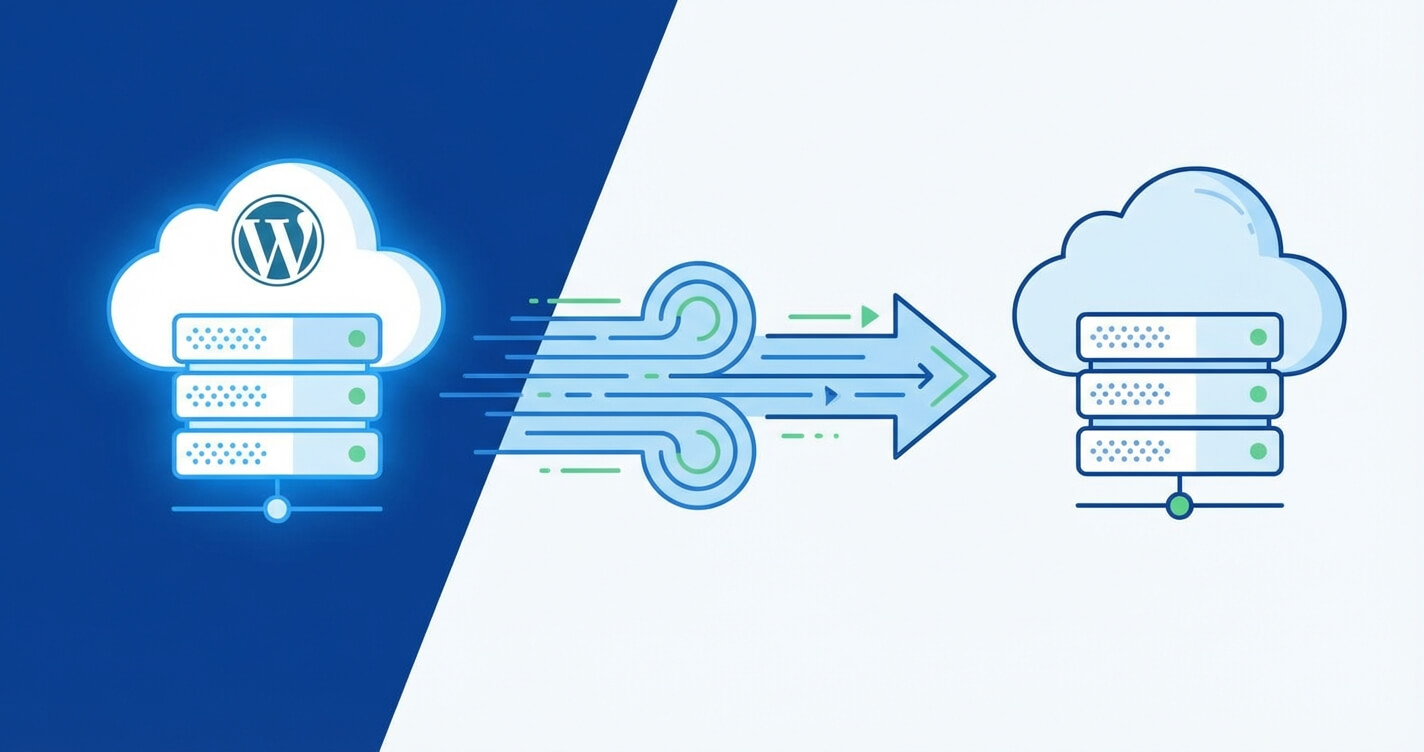
Credit: blog.servmask.com
Upload Website Files To New Host
Uploading your website files to the new host is a crucial step in migrating WordPress. This process moves your site’s data from the old server to the new one. Proper file transfer ensures your website runs smoothly after migration. Prepare to upload core files, themes, and plugins carefully. Organize files before uploading to avoid errors.
Use Ftp Or File Manager
FTP (File Transfer Protocol) and File Manager are common tools for uploading files. FTP clients like FileZilla connect your computer to the new host’s server. File Manager is a web-based tool found in hosting control panels. Choose one based on your comfort level. FTP offers more control and faster uploads. File Manager is easier for beginners and does not require extra software.
Connect to your new host using FTP credentials or log into your control panel. Navigate to the root directory, often named public_html or www. This is where WordPress files must be placed. Ensure your connection is secure to prevent data loss.
Upload WordPress Core Files
WordPress core files include essential scripts and folders. These files power your website’s functionality. Upload all core files except the wp-config.php file if you already created a new database. Core files include folders like wp-admin, wp-includes, and many PHP files.
Use FTP or File Manager to transfer these files to the root directory. Uploading may take several minutes depending on file size. Avoid interrupting the upload process to prevent corrupted files.
Upload Themes And Plugins
Themes control your website’s design. Plugins add extra features. Both are stored in the wp-content folder. Upload the entire wp-content folder to the new host. This step preserves your site’s look and functionality.
Carefully upload the themes and plugins subfolders inside wp-content. Overwriting the existing folder may delete default files, so double-check your uploads. Once complete, your new host will have the same themes and plugins as before.
Import Database To New Host
Importing your WordPress database to the new host is a key step in site migration. This process moves all your content, settings, and user data into the new environment. A clean database import ensures your website works smoothly after the move.
Follow the steps below carefully to avoid data loss or corruption. The database file you exported from the old host will be uploaded and imported using phpMyAdmin.
Access Phpmyadmin
Log in to your new hosting control panel. Look for the phpMyAdmin tool, often found under the Databases section. Click to open it. This tool lets you manage databases through a web interface.
Next, select the database created for your WordPress site. If you have not made one yet, create a new database and user with full privileges.
Import Sql Database File
Inside phpMyAdmin, select the Import tab. Click the Choose File button to locate your exported SQL database file on your computer. This file contains all your website data.
After selecting the file, scroll down and click Go to start the import. The upload speed depends on your file size and connection. Wait until you see a success message.
Check For Import Errors
After the import finishes, phpMyAdmin will display messages about the process. Look for any errors or warnings. Errors can cause your site to malfunction.
If you find errors, verify the SQL file is not corrupted. Check if the database user has the correct permissions. You may need to re-import the file after fixing issues.
Update Wp-config.php
After moving your WordPress files and database to the new host, updating the wp-config.php file is essential. This file controls the connection between your WordPress site and its database. Without proper updates, your site will not work on the new server. Editing this file ensures WordPress can find the correct database and access it with the right credentials.
Open the wp-config.php file in a text editor. Make changes carefully to avoid errors that might break your site. Focus on three key areas: database name, user credentials, and the database host. Each must match the new hosting environment.
Modify Database Name
Look for the line that defines the database name. It starts with define('DB_NAME'. Replace the old database name with the new one created on your new host. This change links WordPress to the correct database. Save the file after editing.
Update Database User Credentials
Next, update the database username and password. These are defined by DB_USER and DB_PASSWORD. Enter the new username and password set up on your new hosting account. These credentials allow WordPress to access the database securely.
Set Correct Database Host
The database host is usually 'localhost', but some hosts use different addresses. Find the DB_HOST line and update it if your new host requires a special hostname or IP address. Confirm this detail with your hosting provider to avoid connection errors.
Fix Urls And Permalinks
After migrating your WordPress site to a new host, fixing URLs and permalinks is essential. These elements control how visitors access your pages and posts. Incorrect URLs or broken permalinks can lead to missing pages and poor user experience. Ensuring everything points to the right location helps maintain site functionality and SEO rankings.
Update Site Url In Database
The site URL stored in the database must match the new host’s domain. This update prevents redirect loops and broken links. Use a tool like phpMyAdmin to access your WordPress database. Look for the wp_options table and update the values for siteurl and home to the new URL. This step ensures WordPress knows the correct address for your site.
Reset Permalink Structure
Resetting permalinks refreshes WordPress’s URL settings. Go to your WordPress dashboard, then navigate to Settings > Permalinks. Without changing anything, click the Save Changes button. This action rebuilds the permalink rules. It helps fix any broken links caused by the migration and improves site navigation.
Check For Broken Links
Broken links harm user experience and SEO rankings. Scan your website to find any links that still point to the old host or show 404 errors. Use online tools or WordPress plugins like Broken Link Checker. Replace or update all broken links to the new URLs. This step keeps your site professional and fully functional.
Test Your New Site
After moving your WordPress site to a new host, testing the site is crucial. Testing ensures everything works correctly before you go live. This step helps catch issues early and keeps your visitors happy.
Check Frontend Functionality
Open your website in a browser. Look at the homepage and several key pages. Make sure images load properly and text displays clearly. Click links and menus to confirm they work. Check the site on different devices if possible. This ensures your visitors see your site as intended.
Verify Admin Dashboard Access
Log in to your WordPress admin dashboard using your credentials. Check if you can access all sections like posts, pages, and settings. Try editing a post or page and save changes. Confirm the dashboard loads quickly without errors. This access is vital for managing your site smoothly.
Test Forms And Plugins
Submit all forms on your website, such as contact or subscription forms. Verify you receive the submissions correctly. Test key plugins like SEO, caching, or security plugins. Ensure they function as expected without errors. Proper plugin operation keeps your site secure and efficient.
Point Domain To New Host
Pointing your domain to the new host is a vital step in migrating your WordPress site. This process directs visitors to the new server where your site now lives. It ensures your website remains accessible without interruptions. Properly updating your domain settings avoids downtime and keeps your SEO intact. Follow these simple steps to point your domain to the new host successfully.
Update Dns Records
Access your domain registrar’s control panel. Locate the DNS settings or zone editor. Change the A record to the new host’s IP address. If your host uses nameservers, update the nameservers instead. Save the changes carefully to avoid errors. Double-check the new IP or nameservers before confirming.
Wait For Propagation
DNS changes take time to spread across the internet. This process is called propagation. It usually lasts from a few minutes up to 48 hours. During this time, some users see the old site, others the new. Avoid making further changes while waiting. Be patient and monitor the process closely.
Verify Domain Resolution
Use online tools to check if your domain points to the new host. Ping your domain or use DNS lookup services. Confirm the IP address matches your new hosting server. Visit your website on different devices and networks. Ensure the site loads correctly without errors. This step confirms a successful domain pointing.
Troubleshooting Common Issues
Migrating WordPress to a new host can bring up some common issues. These problems often happen during or after the transfer. Knowing how to fix them fast saves time and stress. Below are simple fixes for typical errors you might face.
Fix White Screen Of Death
The White Screen of Death shows a blank page with no errors. This usually means a PHP error or memory limit issue. Increase the PHP memory limit in your wp-config.php file by adding:
define('WP_MEMORY_LIMIT', '128M');Disable all plugins by renaming the plugins folder via FTP. If this works, reactivate plugins one by one. Switch to a default theme like Twenty Twenty-One to check theme issues. Clear your browser cache and reload the site.
Resolve Database Connection Errors
Database connection errors show messages like “Error establishing a database connection.” This means WordPress can’t reach the database. Check your wp-config.php file for correct database name, username, password, and host.
Make sure the new host’s database server is running. Confirm your database user has the right permissions. Repair the database by adding define('WP_ALLOW_REPAIR', true); to wp-config.php and visiting yourdomain.com/wp-admin/maint/repair.php.
Handle Permission Problems
Permission problems cause errors like “403 Forbidden” or prevent file uploads. Files should have permission 644, and folders 755. Use an FTP client or your host’s file manager to fix permissions.
Set ownership of files and folders to the web server user. Avoid setting permissions to 777, as it risks security. After fixing permissions, clear your site cache and test again.
Use Migration Plugins
Using migration plugins simplifies moving your WordPress site to a new host. These tools handle many complex tasks automatically. They reduce errors and save time during the transfer process. Plugins create backups, export your data, and import it to the new server. This method is ideal for users with limited technical skills.
Popular Plugin Options
Several plugins stand out for WordPress migration. All-in-One WP Migration offers a user-friendly interface. Duplicator creates full site packages for easy transfer. UpdraftPlus focuses on backups but also supports migration. Each plugin has unique features to fit different needs. Choose one that suits your site size and complexity.
Export And Import Using Plugins
Start by installing the migration plugin on your current site. Use the plugin to export your entire website as a file. This file contains all your content, themes, and settings. Next, install the same plugin on your new host’s WordPress setup. Upload the exported file to import your site completely. Follow on-screen instructions to finish the process. The plugin handles database and file transfer automatically.
Benefits Of Plugin Migration
Migration plugins reduce manual work and errors. They ensure all site parts transfer correctly. The process is faster than manual migration steps. Plugins often include data compression to speed up file transfers. Many plugins offer free versions with essential migration features. Users can also avoid downtime and broken links after moving. This method suits beginners and busy site owners alike.
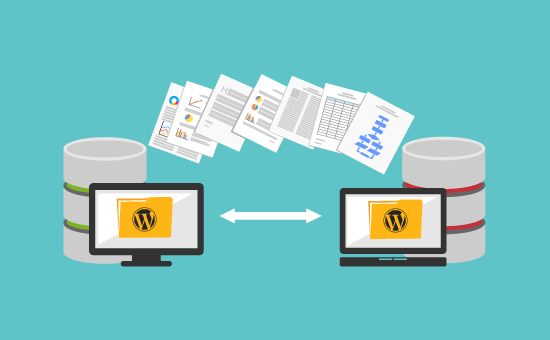
Credit: www.wpbeginner.com
Manual Migration Vs Plugin Migration
Migrating a WordPress site to a new host can be done in two main ways: manually or using a plugin. Each method has unique features, benefits, and challenges. Choosing the right approach depends on your technical skills, time, and specific needs.
Pros And Cons Of Manual Method
Manual migration means moving your files and database yourself. You download WordPress files from your old host using FTP. Then, export your database via phpMyAdmin. After that, upload files to the new host and import the database. Finally, update the wp-config.php file with new database details.
This method offers full control over every step. It helps you learn how WordPress works behind the scenes. You avoid relying on third-party tools that may fail or limit your migration.
Manual migration can be tricky for beginners. Mistakes might cause your site to break or lose data. It takes more time and technical knowledge than using a plugin. You also need access to hosting control panels and FTP clients.
Advantages Of Plugins
Plugins simplify the migration process by automating tasks. Popular plugins like All-in-One WP Migration or Duplicator make backups and transfers easy. They package your entire site, including files and database, into one file. You only need to upload this file to the new host using the plugin.
Plugins save time and reduce errors. They require less technical skill and no manual file handling. Many plugins offer free versions suitable for small to medium sites. Some include additional features like search and replace URLs or fixing broken links.
Plugin migrations depend on the plugin’s compatibility with your site and host. Large sites might need paid versions due to size limits. Plugins may also add overhead or security concerns if not regularly updated.
Which Method To Choose
Choose manual migration if you want full control and have basic technical skills. It suits developers or users who want to learn more about WordPress. This method is best for complex sites or custom setups.
Use plugin migration for faster, easier transfers with less risk of mistakes. Ideal for small to medium sites and beginners. Plugins handle most of the heavy lifting and reduce downtime.
Both methods work well with proper preparation. Backup your site before starting. Test your site fully after migration to ensure everything works perfectly.
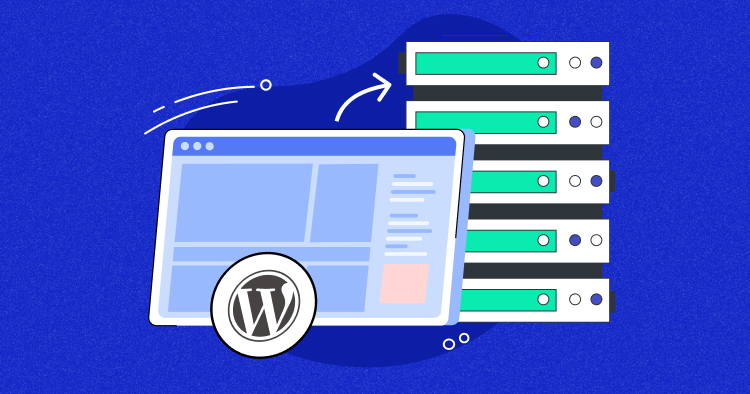
Credit: www.cloudways.com
How Our Company Can Help You with How to Migrate WordPress to a New Host
Practical Steps to Enhance Your WordPress Migration Skills
Understanding the migration process—from creating a database on your new host to updating the wp-config.php file—offers valuable hands-on learning for anyone managing WordPress sites. For instance, practicing manual migration techniques alongside using migration plugins can deepen your grasp of how WordPress functions behind the scenes. This approach aligns well with HostingAdvise’s mission to provide balanced, evidence-based guidance that empowers users to confidently choose and manage hosting solutions.
As you work through fixing URLs and permalinks after migration, take the opportunity to familiarize yourself with common troubleshooting scenarios. These practical exercises help build problem-solving skills essential for maintaining website stability. If you encounter challenges, reaching out to your new host’s support or consulting official documentation can further solidify your understanding without feeling overwhelming.
- Backup and restore processes
- Database import and configuration updates
- URL adjustments and permalink settings
For additional assistance, consider contacting support at your new hosting provider or visiting HostingAdvise’s resource hub, where verified user feedback and expert insights can guide your next steps.
Frequently Asked Questions
Can I Transfer A WordPress Site To A New Host?
Yes, you can transfer a WordPress site to a new host by migrating your files and database. Use plugins or manual methods to ensure a smooth transfer. Test the site after migration to confirm everything works correctly.
Why Are People Moving Away From WordPress?
People move away from WordPress due to security issues, slow performance, complex updates, and desire for simpler, faster platforms.
How To Manually Migrate WordPress?
Export your WordPress files and database from the old host. Create a new database on the new host. Upload files and import the database. Update wp-config. php with new database details. Test the site on the new host before updating DNS records.
How Do I Transfer My Website From One Host To Another?
Sign up with a new host and choose a plan. Backup and export your website files and database. Create and import a new database on the new host. Upload your website files, update configurations, and test the site to ensure it works correctly.
Conclusion
Migrating your WordPress site to a new host does not have to be hard. Follow each step carefully to avoid errors. Back up your files and database first. Use reliable tools or manual methods to move your site. Test your site on the new host before making it live.
Keep your website secure during the process. With patience and care, your migration will succeed smoothly. Your website will work well on the new host. Stay calm and take one step at a time.











Leave a comment